Wednesday, February 26, 2014

Friendship Copic Marker Class at The Scrapbooking Studio!

Hi everyone! Just wanted to share some details about my upcoming class at The Scrapbooking Studio...


During this two-hour class we are going to be creating two friendship-themed cards using Copic markers and stamps from Inky Antics' "Perfect Pear" stamp set! Basic Copic blending techniques are taught and we will also be learning how to add fabric textures to colored images. :) 

Class Supplies:
Dry adhesive
Liquid adhesive
Scissors
Pop dots
Copic markers:
            E00, E01, E02 (skin tone family)
            B91, B95 (light blue/denim family)
            E25, E29 (brown family)
            Y11, YG03 (yellow green family)
            R83, R85 (pink family)

*Students are asked to bring or purchase their own markers for class. While exact colors are not required, it is strongly recommended students bring markers in similar color families to those used in class.

Cost for the class is $15 and you can reserve your spot by calling The Scrapbooking Studio's Davenport location at (563)-639-9966, or by registering via their website. Class reminders will be posted on their Facebook page as well!

Hope to see you there!


Ashley

Friday, February 14, 2014

Project Life: Week 4 & Catching Up

I can honestly say I have never been so busy in my almost twenty one years of life.

I'm enrolled in 9 classes, which is 21 credit hours. (Meaning I spend an average of 21 hours in class a week - not counting all the homework and studying I do outside of class).

As an elementary education major less than a year away from student teaching, I'm beginning practicum experiences and spending a lot of time in elementary schools. This semester, I am required to spend 80 hours in three different classrooms. 20 hours with a reading specialist, 30 hours with a special education teacher, and 30 hours with a general classroom teacher during the subjects of math, science, and social studies. Thankfully two of my placements are at the same school and the other school is nearby, but, 80 hours is A LOT.

Prior to starting at my new college this school year, I worked part-time at two libraries. During my winter break I picked up some hours at one of them and was asked if I would like to continue working one Saturday a month, since I'm home all the time. Of course I said yes! Not long after that, I was asked if I would be interested in working weekend hours at the other library because they are undergoing some major changes and were in need of immediate help with someone who did not need very much training. So, I am back to working two jobs (which I love, don't get me wrong) and traveling home every weekend. It's only an hour and a half drive, and I was coming home pretty much every weekend anyways. I am so thankful for the opportunity to work again at two places that I absolutely love and enjoy.

In the fall I also started teaching Copic marker classes and I am continuing to teach monthly classes at The Scrapbooking Studio in Davenport, Iowa, and also at a store closer to my hometown in Sandwich, Illinois, called Peddlers Den. It is so much fun combining my passion and my hobby. I am on the design team for The Scrapbooking Studio as well, and am also currently designing for Two Berry Creative.

So, aside from all that, I'm also trying to maintain a social life and create some down time for myself. My friends coerced me into joining two intramural sports - something I have NEVER done before and NEVER thought I would be doing - and I am now cosmic bowling on Monday nights and playing volleyball on Thursday nights. Both start within the coming weeks, and I'm both excited and a bit nervous because I'm not very athletic!

I apologize, I didn't mean to write a book! I feel so guilty for not posting as much as I normally do, but honestly my days blend together and I have no idea where time goes. I have amazingly been keeping up with my Project Life pages and working on a few other projects as well. I miss regularly crafting so much! I'm counting down the days until my semester is over at the beginning of May. :)

So, with that all said, let's take a visual look at my crazy life with my Week 4 Project Life spread:


I limited Week 4 to a one page spread because it wasn't a very eventful week. This was also a design team project for The Scrapbooking Studio made with We R Memory Keeper's "Notable" collection (more projects created with this line coming next week).


The two pictures in the center were taken in my Assessment and Diagnosis in Reading and Science Methods for Elementary Teaching courses. In learning how to be a teacher, we often play the role as students so we can better understand how to teach alongside learning different teaching methods. In Reading, we played a word forming game using candy hearts, and in Science, we planted lima beans.

There was also a lot of snow this week and while waiting for the bus (which was over 20 minutes late - ugh) Danielle and I decided to make snow angels in the parking lot. I think we've been spending too much time acting like kids in class!


The January card was cut from a 12x12 sheet of paper from "Notable" and instead of writing the dates of the week on the title card, I used an embellishment to indicate the week on the calendar card.


I almost forgot - Happy Valentine's Day, everyone! Have an absolutely lovely day. :)



Ashley

Wednesday, February 12, 2014

Valentine's Day Envelopes

Happy almost-Valentine's Day! I'm one of those people who truly loves Valentine's Day, even if my "valentines" happen to be friends or students. Unfortunately due to my extremely hectic schedule I didn't get to do a whole lot of Valentine's Day crafting this year, but I did make some adorable Valentine's Day envelopes using fabulous products from Two Berry Creative!
Let me just start by saying - I am in LOVE with these polka dot kraft bags. Like, absolutely in love. I love polka dots and these are SO cute! How could you not want to embellish them?! They could be used for so many different projects. 


To embellish my envelopes, I used washi tape, twine, dry erase board labels, Thickers, and some SRM Valentine's Day stickers. These were easy and simple to make and would even work well for a kids craft!


Here are the products I used from Two Berry Creative:
- Dotted Biodegradable Kraft Bags
- Valentine's Day Red & Pink Baker's Twine
- Red Hot Hearts Washi Tape
- Pink & Cream Diagonals Washi Tape
- Rectangle Whiteboard Labels

That's all for me today! I will be back tomorrow, FINALLY, with a catch-up post and a recent Project Life spread. Have a fantastic rest of your day!
Ashley

Tuesday, February 4, 2014

Hugs & Kisses

First off... it was has been WAY too long since I've posted! Oh, how my schoolwork has taken over my life. Thankfully I've got pictures uploaded for my next few posts and all I need to do is write them!


Today I am super excited to once again be guest designing for Die Cuttin' Divas! I guest designed for them over the summer and was thrilled when they asked if I would be interested in designing again. This week's challenge is a sketch challenge!

And here's my take on the sketch:

I used paper from Basic Grey's "Bittersweet" collection to create this Valentine's Day card. I cut the hearts using papers from the collection and my Silhouette Cameo. The 'hugs and kisses' sentiment is from a retired Whimsical Designs stamp set. I love how the pretty pearls tie the card together!

The prize for this challenge is two stamp sets from Your Next Stamp! Check out the blog for more details on the two sets. :)

Thanks so much for stopping by! I'll be back later this week with my recent Project Life pages.
Ashley

Sunday, January 19, 2014

Project Life: Weeks 2 & 3

Wow! Time is certainly flying by. As some of you know, I'm a student studying to become an elementary school teacher (this time next year I'll be student teaching and preparing to graduate). This semester I am taking 9 classes which equals 21 credit hours, and is considered an overload. Since the semester had started, crafting had been put on the back burner for a few weeks while I got settled into my new routine. Now that I have a better idea of my schedule I should be back to posting regularly, although not as often during previous semesters, but I'll make up for it in the summer. :)

This is my first year doing Project Life and I'm loving it! The only thing I'm having an issue with is developing a "style" but I know that comes with time and consistency. Since I didn't get around to sharing a spread last week, today I am sharing both Week 2 and Week 3 spreads.

*Warning: This post is photo heavy!*

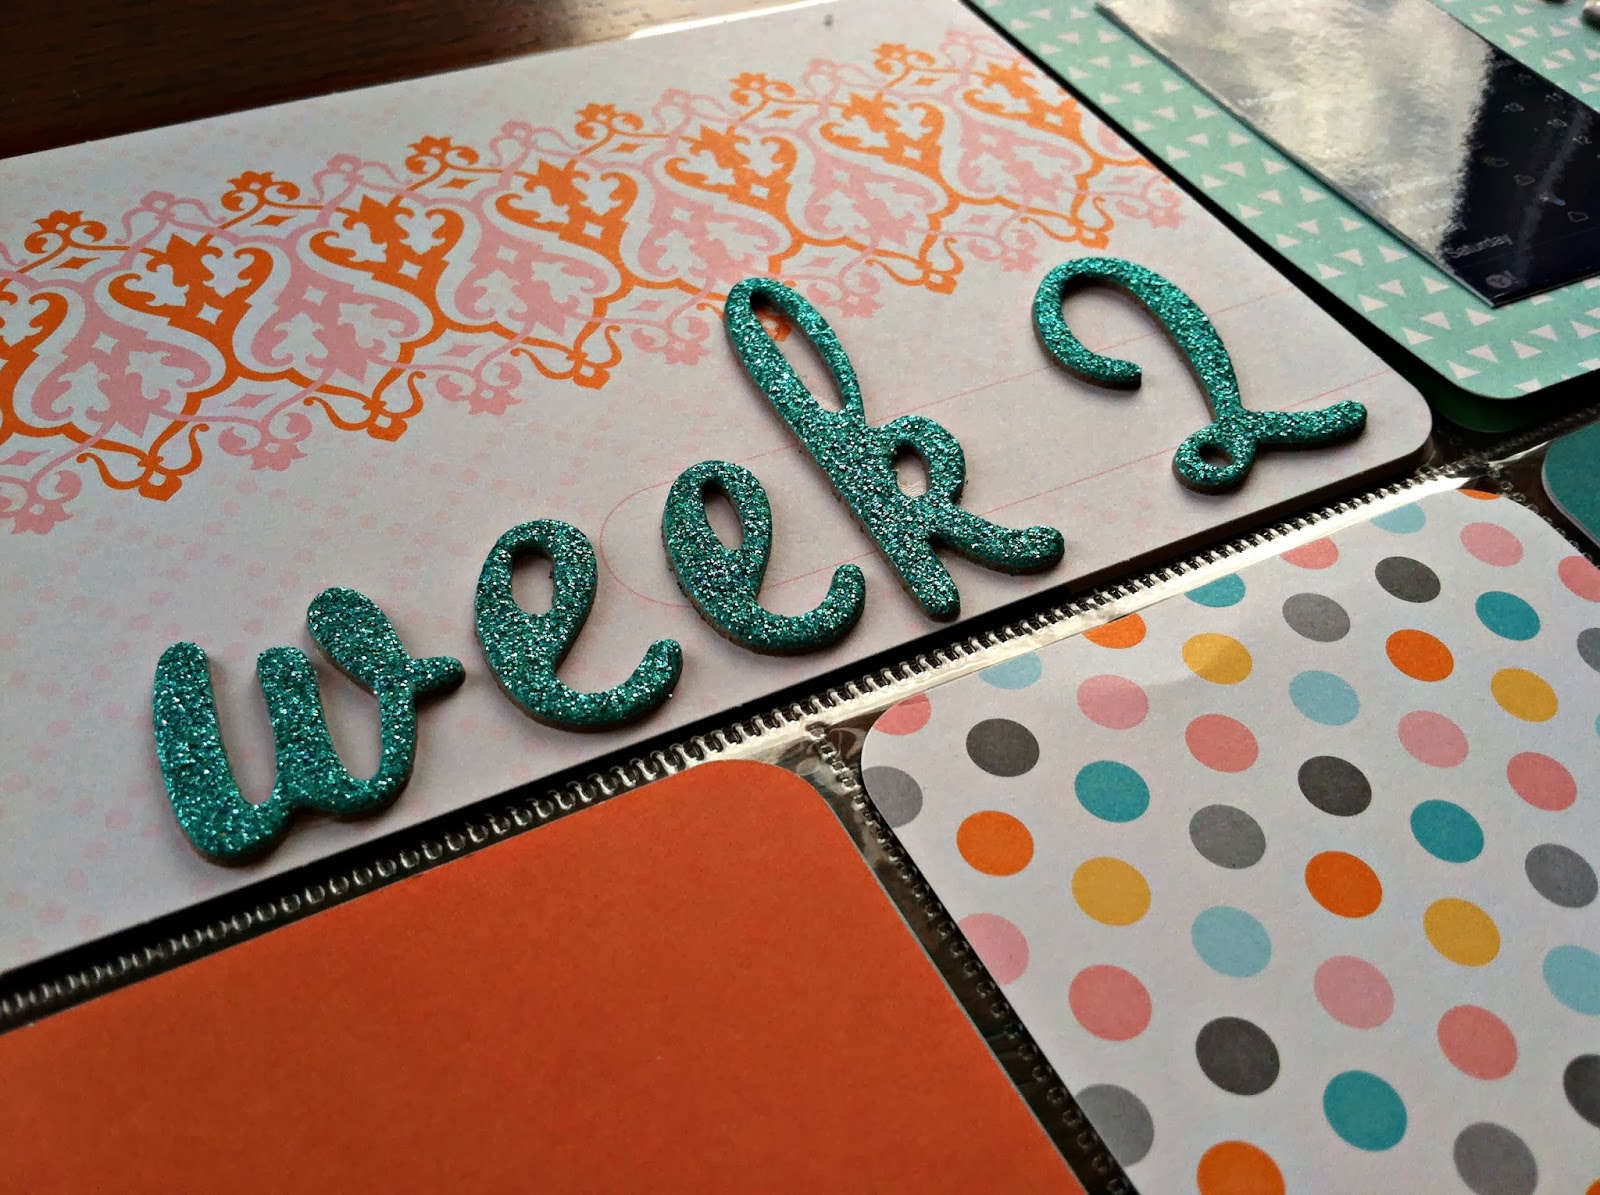
Here's a look at Week 2:


Week 2 Highlights:
~ The new semester started two days late because of the extreme cold, with the windchill it was nearly -40 degrees!
~ My friend Danielle and I took some fun "first day of school" pictures
~ My friends and I played our favorite card game (which we call "Sammich") but it's better known as Egyptian Ratscrew (I think)
~ My sister came to stay with me for a night!

For Week 3 I decided to give a black and white layout a try. I really like how it turned out!


Week 3 Highlights
~ Lots of time spent with friends! 
~ Danielle and I had fun (well, as much fun as we could) in night class drinking Capri Suns
~ I got a free sweatshirt which I love, and myself, Danielle, and Ellerie took a "triplet" picture together
~ A group of us played Scattergories, one of my favorite games! Included is part of my score sheet
~ I got to bring one of my stuffed animals to class (oh, the life of an education major) and I chose to bring my penguin, Paulo


I am off to finish a birthday card for my mom (that'll be posted later this week) and then it's back to creating lesson plans! Right now I'm working on a science lesson plan involving a fossil activity. Fun, but tedious! Have a great rest of your weekend.


Thursday, January 16, 2014

Love Banner


Happy Thursday! I can't believe it's been almost two weeks since my last blog post... YIKES! I started my spring semester and my 9 classes/21 credits have been keeping me pretty preoccupied! Thankfully I'm getting a routine down and caught up on a bunch of assignments so I should be having more time to craft. My next Project Life segment will be posted on my blog this weekend!

Anyways! It's hard to believe that Valentine's Day is less than a month away! How crazy! Valentine's Day has to be one of my favorite "crafty" holidays, though, as a future teacher, Valentine's Day treats are so fun to make!

Today, though, I'm sharing with you all a simple banner I made for my home using products from Two Berry Creative

Inline image 5

To make the banner, I cut banner shapes using my Silhouette out of black cardstock and patterned paper from Pebble's "Front Porch" collection. Even though it's not a Valentine line, the theme of the papers worked perfectly!

I then cut heart shapes using my Silhouette as well, and added a chipboard letter to the center of each to spell out 'LOVE.' I lined each of the patterned papers with Red Riding Hood and Hot Pink Baker's Twine for some extra texture and dimension.

Inline image 1

Inline image 2

Inline image 3

Inline image 4

Lastly, I used what I thought was ribbon (but turned out to be adhesive tape, which is why it hangs a bit awkwardly) to hang the banner and attached each of the banner pieces using these adorableHeart Mini Clothespins

What Valentine's Day projects have you been working on lately? Next on my list are Valentine's goodie bags for my friends using lots of fabulous products from Two Berry Creative!

Thanks so much for stopping by today!


Friday, January 3, 2014

Project Life: Week 1

Happy New Year, everyone! With a new year comes new changes, and boy am I excited about the new things planned for 2014! First of all, I'm starting Project Life, which is something I had the desire to do all of 2013 and meant to get started on the second half of the year, but time slipped away from me and unfortunately, I never was able to get around to it. Now, I'm determined to keep up with it on a weekly basis and share it with you on my blog.

My plan is to create just a one page layout for every week, unless I have enough to fill a complete spread. I'm fearful of planning to create a spread each week because I know some weeks will be less eventful than others, and I don't want to become stressed trying to fill pages. So, I'll stick with a layout a week and if I have enough or if there's a holiday or something else special going on, I'll make a full spread. :) 

To kick off the year, I created a New Year's page and also my Week 1 page. My weeks are going to be running from Sunday-Saturday, and because the new year started this week, I thought I would count this week as Week 1. I finished a little early so I could share it with you this week. 

Now, I have a slight obsession with Project Life Kits, which is silly because they come with SO many cards, but I love having a variety! I personally own the Jade, Midnight, and Seasons Mini Kit, but also have cards from older kits such as Clementine and Turquoise from a few swaps I did. I'm trying to resist purchasing more, but we'll see how long I hold out!

So without further ado, here's my full spread!
(Forgive me as I'm still playing around with how to take the best pictures of these layouts in regards to location and lighting - give me a few weeks and I'm sure I'll have the hang of it!)


Some close ups of the New Year's page:


Close ups of Week 1:


My favorite part about this layout is the 'January' card I created using the Clear Your Calendar stamp set from Two Berry Creative. I've made one for every month so that I can highlight the important dates at beginning of each new month. I'm up on their blog today with peeks of all the monthly cards I've made! Be sure to stop by. :)

Not too shabby for my first attempt! I just wish I knew how to take better photos while eliminating the glare on the page protectors... anyone have any tips? 

If you're documenting your life with Project Life this year I would LOVE to see! Thanks so much for stopping by.
Related Posts Plugin for WordPress, Blogger...