Sunday, January 19, 2014

Project Life: Weeks 2 & 3

Wow! Time is certainly flying by. As some of you know, I'm a student studying to become an elementary school teacher (this time next year I'll be student teaching and preparing to graduate). This semester I am taking 9 classes which equals 21 credit hours, and is considered an overload. Since the semester had started, crafting had been put on the back burner for a few weeks while I got settled into my new routine. Now that I have a better idea of my schedule I should be back to posting regularly, although not as often during previous semesters, but I'll make up for it in the summer. :)

This is my first year doing Project Life and I'm loving it! The only thing I'm having an issue with is developing a "style" but I know that comes with time and consistency. Since I didn't get around to sharing a spread last week, today I am sharing both Week 2 and Week 3 spreads.

*Warning: This post is photo heavy!*

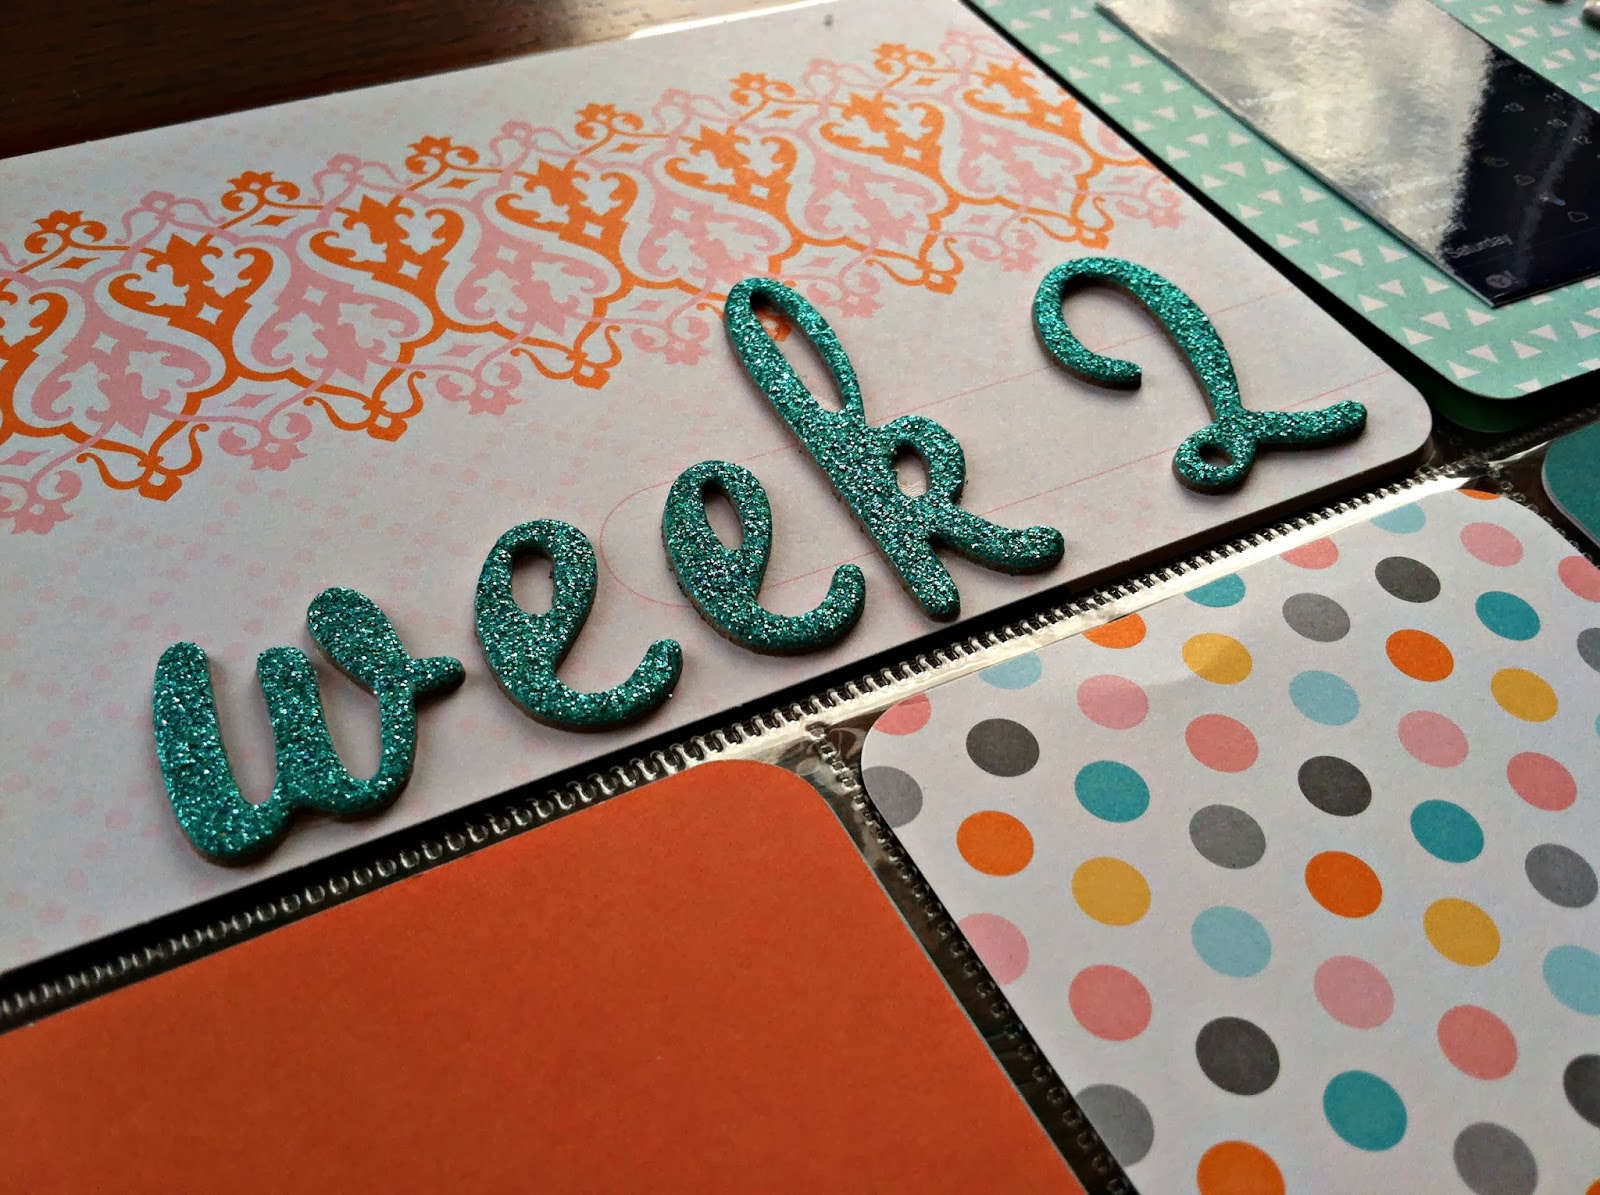
Here's a look at Week 2:


Week 2 Highlights:
~ The new semester started two days late because of the extreme cold, with the windchill it was nearly -40 degrees!
~ My friend Danielle and I took some fun "first day of school" pictures
~ My friends and I played our favorite card game (which we call "Sammich") but it's better known as Egyptian Ratscrew (I think)
~ My sister came to stay with me for a night!

For Week 3 I decided to give a black and white layout a try. I really like how it turned out!


Week 3 Highlights
~ Lots of time spent with friends! 
~ Danielle and I had fun (well, as much fun as we could) in night class drinking Capri Suns
~ I got a free sweatshirt which I love, and myself, Danielle, and Ellerie took a "triplet" picture together
~ A group of us played Scattergories, one of my favorite games! Included is part of my score sheet
~ I got to bring one of my stuffed animals to class (oh, the life of an education major) and I chose to bring my penguin, Paulo


I am off to finish a birthday card for my mom (that'll be posted later this week) and then it's back to creating lesson plans! Right now I'm working on a science lesson plan involving a fossil activity. Fun, but tedious! Have a great rest of your weekend.


Thursday, January 16, 2014

Love Banner


Happy Thursday! I can't believe it's been almost two weeks since my last blog post... YIKES! I started my spring semester and my 9 classes/21 credits have been keeping me pretty preoccupied! Thankfully I'm getting a routine down and caught up on a bunch of assignments so I should be having more time to craft. My next Project Life segment will be posted on my blog this weekend!

Anyways! It's hard to believe that Valentine's Day is less than a month away! How crazy! Valentine's Day has to be one of my favorite "crafty" holidays, though, as a future teacher, Valentine's Day treats are so fun to make!

Today, though, I'm sharing with you all a simple banner I made for my home using products from Two Berry Creative

Inline image 5

To make the banner, I cut banner shapes using my Silhouette out of black cardstock and patterned paper from Pebble's "Front Porch" collection. Even though it's not a Valentine line, the theme of the papers worked perfectly!

I then cut heart shapes using my Silhouette as well, and added a chipboard letter to the center of each to spell out 'LOVE.' I lined each of the patterned papers with Red Riding Hood and Hot Pink Baker's Twine for some extra texture and dimension.

Inline image 1

Inline image 2

Inline image 3

Inline image 4

Lastly, I used what I thought was ribbon (but turned out to be adhesive tape, which is why it hangs a bit awkwardly) to hang the banner and attached each of the banner pieces using these adorableHeart Mini Clothespins

What Valentine's Day projects have you been working on lately? Next on my list are Valentine's goodie bags for my friends using lots of fabulous products from Two Berry Creative!

Thanks so much for stopping by today!


Friday, January 3, 2014

Project Life: Week 1

Happy New Year, everyone! With a new year comes new changes, and boy am I excited about the new things planned for 2014! First of all, I'm starting Project Life, which is something I had the desire to do all of 2013 and meant to get started on the second half of the year, but time slipped away from me and unfortunately, I never was able to get around to it. Now, I'm determined to keep up with it on a weekly basis and share it with you on my blog.

My plan is to create just a one page layout for every week, unless I have enough to fill a complete spread. I'm fearful of planning to create a spread each week because I know some weeks will be less eventful than others, and I don't want to become stressed trying to fill pages. So, I'll stick with a layout a week and if I have enough or if there's a holiday or something else special going on, I'll make a full spread. :) 

To kick off the year, I created a New Year's page and also my Week 1 page. My weeks are going to be running from Sunday-Saturday, and because the new year started this week, I thought I would count this week as Week 1. I finished a little early so I could share it with you this week. 

Now, I have a slight obsession with Project Life Kits, which is silly because they come with SO many cards, but I love having a variety! I personally own the Jade, Midnight, and Seasons Mini Kit, but also have cards from older kits such as Clementine and Turquoise from a few swaps I did. I'm trying to resist purchasing more, but we'll see how long I hold out!

So without further ado, here's my full spread!
(Forgive me as I'm still playing around with how to take the best pictures of these layouts in regards to location and lighting - give me a few weeks and I'm sure I'll have the hang of it!)


Some close ups of the New Year's page:


Close ups of Week 1:


My favorite part about this layout is the 'January' card I created using the Clear Your Calendar stamp set from Two Berry Creative. I've made one for every month so that I can highlight the important dates at beginning of each new month. I'm up on their blog today with peeks of all the monthly cards I've made! Be sure to stop by. :)

Not too shabby for my first attempt! I just wish I knew how to take better photos while eliminating the glare on the page protectors... anyone have any tips? 

If you're documenting your life with Project Life this year I would LOVE to see! Thanks so much for stopping by.

Tuesday, December 31, 2013

Hello, 2014!

Happy New Year! Well, in a few hours, at least. :)


No projects to share today, but rather, I'd like to share with you what's up and coming for myself and my little blog in 2014. 

The start of a new year is always exciting, and also a great time for change. I'm one of those people who embrace change and enjoy changing things up here and there. 

So, what's coming in 2014?!

1. A new blog design! Yay! I'm excited to announce that at the end of January Made Especially for You will be receiving a makeover by Kim from 733 Design! I love her clean and simple, yet professional style and am excited to see what she has in store for my blog.

2.  Personality. My most favorite blogs dive into the life of the blogger rather than simply sharing the blogger's fabulous projects, and I think it's time my readers get to learn a little bit more about me and my life, aside from my hobby.

3. Resources! As a certified Copic Instructor & Designer, I'm looking into putting together resources for the classes I teach, so stay tuned for those! A class schedule will also be found on my blog for local crafters interested in taking one of my classes.

4. New features. I've taken a step back from some (though not all) of my design team work, and am looking forward to bringing new features to my blog, such as "What I'm Loving Wednesday" where I'll be sharing things I'm currently drooling over! :) 

5. Project Life! I have already started working ahead on pages for 2014 and cannot wait to begin sharing my layouts on a weekly basis! Hint: My first PL layout will be shared this Friday. :)


I've decided that 2014 is also the year of planning. With my new Erin Condren planner, this will be a piece of cake!


Okay, so, this planner cost $50. Now, before you go judging me, it is TOTALLY worth it. I'm not one to throw down $50 on just anything (especially as a college student) but I'm an organizing/planning/OCD freak and feel much better when I write things down to help keep my life in order. If you're nodding your head along with me, I highly suggest taking a look around her site!

P.S. When you create an account on the Erin Condren site, you automatically receive an email with a $10 off coupon! That's how I convinced Santa to buy this for me. :)

There are SO many different designs to choose from, and most everything can be personalized. How fun is that?! 


My planner is organized into morning/day/night, which works well with my class schedule. There's also room underneath and on the side for weekly goals. 


The planner holds A LOT and is laminated so you don't have to worry about destroying it! Well, it wouldn't be an easy task, at least. :)


I love the random, inspirational quotes found throughout the planner.


The fun, bright, colorful nature of the planner totally matches my personality, and there are TONS of different designs to choose from! If I could have them all, I would. :)


What are your crafty/blogging plans for 2014? I'd love to hear! :)


Tuesday, December 24, 2013

Merry Christmas!

Merry Christmas! Hard to believe it's already here... I feel like I just finished creating Christmas in July projects! Time flies when you're having fun. :)

Today I'd like to share with you the place cards I made for our Christmas dinner tomorrow that are also my challenge entry for this week's photo inspiration challenge at Peachy Keen Stamps:


How pretty is this color combo?! It obviously lends itself nicely to something Christmas-y, so I used the colors as inspiration for our Christmas place cards, which worked out nicely since I was able to kill two birds with one stone. :) Aside from the colors, I also added some sparkle to match the ornament using Champagne Stickles. 


The place cards are rather simple, but I like that they still have a touch of elegance. I computer generated everyone's names, and then printed and cut them out of cream colored cardstock. I used a Fiskars corner punch for a more decorative look, and added some gold cardstock behind the cream to tie in with the colors on the table itself.

An Instagram shot for fun :)

The small (snowflake?) stamp is from Peachy Keen's November stamp set of the month. Regardless if it's a snowflake, I turned it into a poinsettia and colored it with Copics R56 and R59, and added a dab of Champagne Stickles in the center for a bit of sparkle. 

I am off to get a bit of cleaning done and then settle in for the evening, we are just having a quiet family dinner tonight, and tomorrow we are having company over. I hope everyone has a happy holiday with their loved ones!


Tuesday, December 17, 2013

Tiny Tags

Good morning! Today I'm sharing with you all a design team project I made for Two Berry Creative using their fabulous Rectangular Blank Tags! (Their Scalloped Top Blank Tags would also look great with the project I'm about to share with you!)

Over the summer I made a Christmas tag that I absolutely loved, and decided to recreate the concept, only this time, in miniature version. Here's the original post, but I'll share a picture with you as well:

And now for the tags I created using Two Berry Creative tags:


Since I find this a really cool technique, I decided to put together a mini tutorial so you can try it yourself! Here's what you'll need:

Two Berry Creative Rectangular Blank Tags
Tim Holtz Fired Brick Distress Ink
Tim Holtz Aged Mahogany Distress Ink
Tim Holtz Walnut Stain Distress Ink
Tim Holtz Peeled Paint Distress Ink
Tim Holtz Forest Moss Distress Ink
Ranger Inkessentials Ink Blending Tool
Heat Gun
Embossing Ink Pad
Black Embossing Powder
Metallic Gold Embossing Powder
Small Snowflake Stamps
Sentiments of Your Choice

Keep in mind that you are more than welcome to try this technique using other colors of ink and embossing powder of your choice - these are just the colors I used. :)

Although I made both a red and a green tag, my tutorial shows the red tag being inked and at the end you'll see both tags together. 

1. Gather your supplies!


2. Ink your tags! Start with the lightest color first. 
(Lightest color on my green tag is Peeled Paint).

3. Then apply the medium color.
(Medium color on my green tag is Forest Moss).

4. Lastly, distress the edges with your darkest color.
(Darkest color on my green tag is also Walnut Stain).


5. Next, stamp and heat emboss your sentiment.
Sentiments are from a retired Whimsical Designs stamp set.

6. Heat emboss snowflakes wherever you desire.
Silver embossing powder would be pretty, too!

7. Add some ribbon or twine to the top of the tag, and ta da! (Two Berry Creative's Silver Metallic twine or Gold Metallic twine would be a great tag topper for these!)
Crinkle ribbon is from 3 Girl Jam


These tags are going to look fabulous on gift bags this year! You could also use this technique for other seasons as well... I'm thinking I might try a blue/wintery one in the future, as long as I remember to pick up some silver embossing powder. :)

Thanks so much for stopping by and Happy Holidays!


Monday, December 16, 2013

You're Such A Dear

What a busy day of crafting I've had! Feels great to be able to craft without feeling guilty about not doing homework, studying, or anything else school-related. This afternoon I finished up a card I made for Peachy Keen's current glitter card challenge:


I love me some glitter! When in doubt, add sparkle. :) The background of this card is embossed with a snowflake embossing folder using my Cuttlebug and I used a Copic clear Spica glitter pen to highlight the embossed snowflakes even more.


The birch trees are dies from Impression Obsession that I embellished with Glitter Frosting (Hint of Green) Flower Soft. The deer and sentiment are both of course from Peachy Keen's December Stamp Set of the Month, and I colored the deer with Copics E25, E27, E29 and R20. 

I'm off to get a bit of Christmas shopping done before going back to hiding in my craft room! Thanks for stopping by. :)

Related Posts Plugin for WordPress, Blogger...