


Welcome to this week’s edition of Thursday Craft 'n Chat. Every Thursday will feature a different crafty tip/technique from one of the Made Especially For You design team members. Click here to view last weeks tutorial on how to make a wine glass tea light shade.
Hello everybody, this is Cyndy from Arcy Scraps!
Welcome to another Craft 'n Chat Thursday!
Today I have a mini picture tutorial on ways to use Tim Holtz Distress Inks to make your own backgrounds.
All of these tags are from the Tags, Bags, Boxes & More cartridge.
They're cut at 2.75" width (That's right, width LOL, I was working with some scraps)

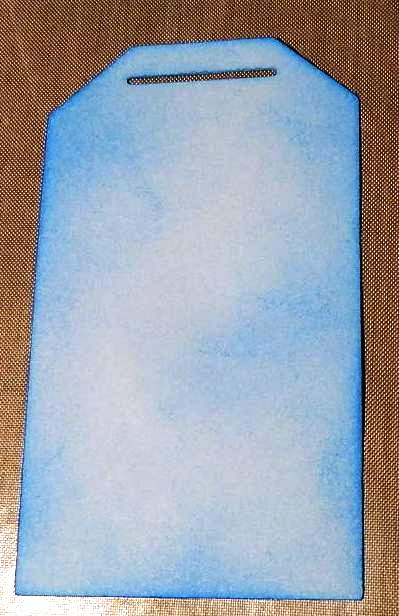
Technique 1:
Get the foam applicator, ink it up, and start adding ink to your paper!
(This one is Salty Ocean from the Summer seasonal set, I ♥ the colors in this set)

You can keep adding more color until you get the look you like.

You don't have to necessarily use one color, you can use as many as you like!
Technique 2:
Rub the ink pad on your craft sheet lightly.

Then use your mini mister to spray some water.

Just press your paper on it and use a heat tool to dry it up.
You can keep adding colors until you're satisfied with the look of it.

Technique 3:
This is pretty much the same as technique one. Just add the colors you want on your tag.

Lightly splash water to create this blotchy look.
I mean lightly, otherwise you'll get big blotches like this one.
You can use a small brush, dip it in water, and create your blotches.

Extra:
Who says these inks are limited to paper?
Check these primas out!

I just inked them up with Vintage Photo Distress Ink.

Here's the final look for a vintage look.

P.S.
You still have time to join this week's three eyelet challenge!
Check it out here!
Cyndy
These are so cool...now Im going to have to try and do this myself! Just hope they turn out as nice as yours. Fantastic job! Kathie
ReplyDeleteWow this makes it seem easy! I think I'll have to give this a try! Thanks for sharing!!
ReplyDeleteA great technique, I recently did this at a class locally and yes, it is a fab result...thanks for showing again as now it has enticed me to do more..xx
ReplyDeleteNicely done Cyndy
ReplyDeleteAshely,
ReplyDeleteThank you so much for this tutorial!! I just love all the ideas, and gives me a chance to try something new!!
Kathy
My Cricut Craft Room Design Team
http://3spoileddogs.blogspot.com/